Caravan Set Up Tips: How To Set Up Your Caravan (With Minimal Fuss)
Share
Hiring a caravan for the first time? Or just picked up your first caravan? Before you set out on an adventure, it’s important that you know how to set up your caravan once you get there!
We’ve put together a comprehensive caravan set up guide to help you stay safe, comfortable, and confident when you’re adventuring with your family.
Why is Knowing How to Set Up a Caravan Important?
If you don’t set your caravan up properly, you run the risk of something bad happening – whether an inconvenient mishap, costly damage or even injury to your family and those around you.
Whether you’re setting up a caravan for the first time, or you want to make sure you check all the boxes, knowing how to get set up will ensure you can enjoy your adventure without interruptions.
So, we’ve put together 5 simple-but-important steps to help you confidently get your caravan set up, including:
- Hitching your caravan
- Towing tips
- Positioning, levelling, and uncoupling the caravan
- Preparing your caravan
- Connecting and maintaining the facilities
Let’s get into it…
Hitch Your Caravan Carefully
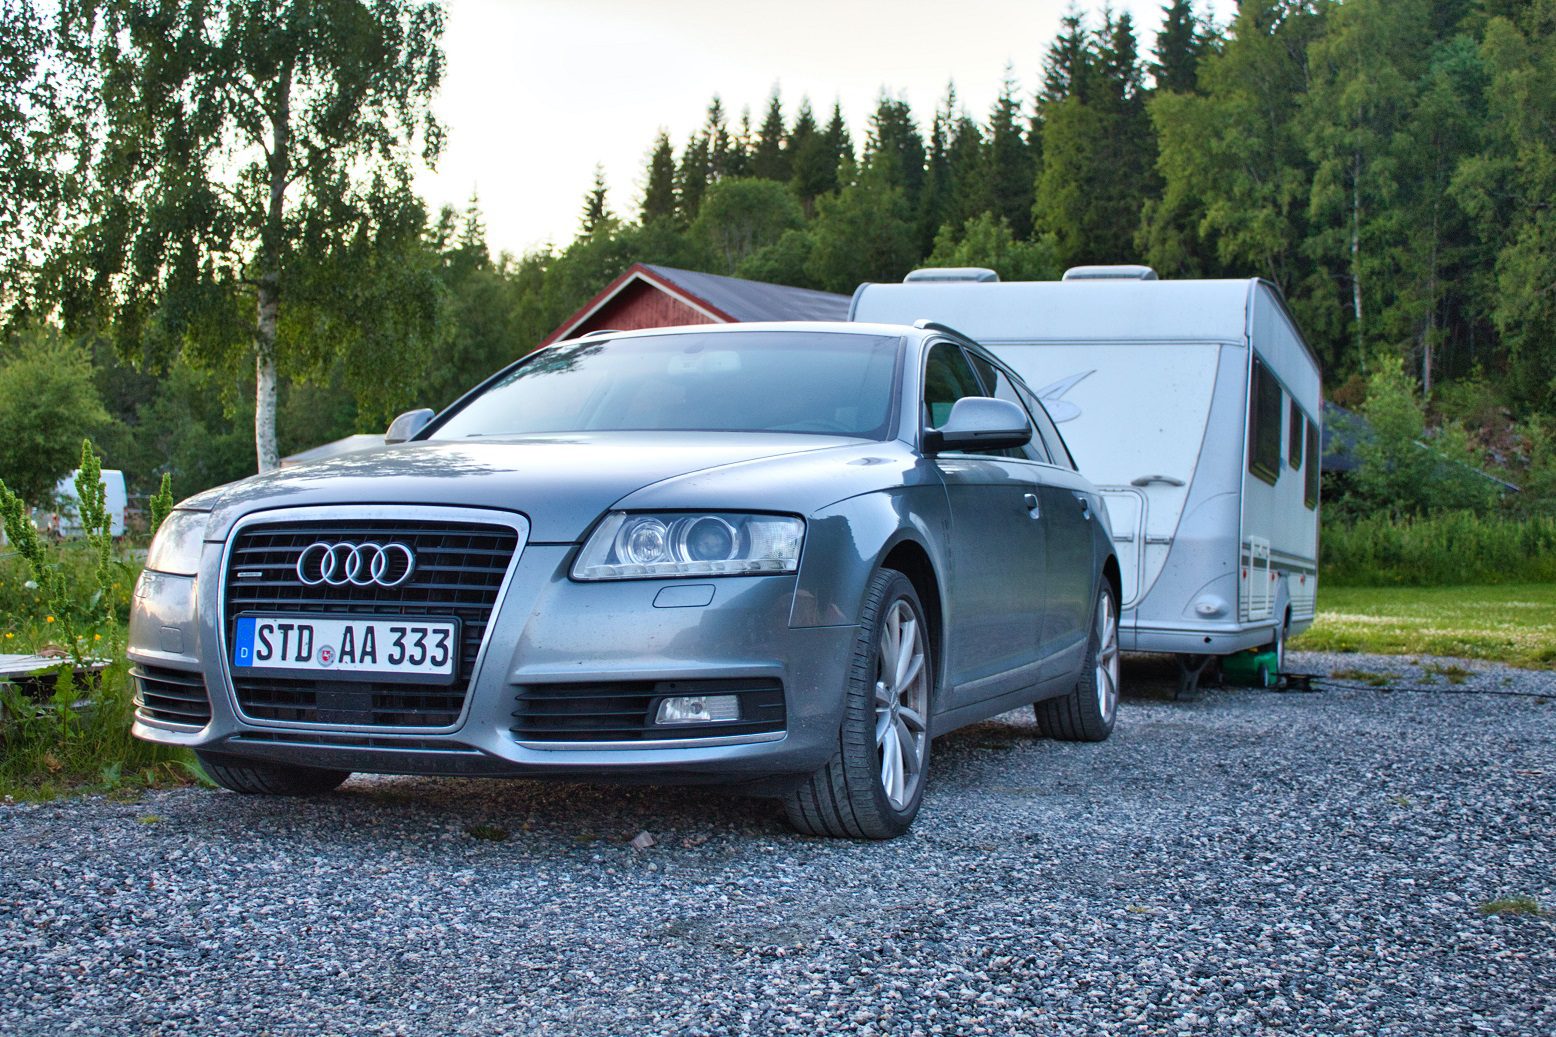
One of the first and most important pieces of info that I pass onto our hirers is how to hitch your caravan. After all, if your caravan isn’t properly attached to your towing vehicle, it can cause serious damage, injuries, and void your insurance cover in the event of a claim. PLUS – the last thing we want is for you to run into trouble before you even make it to your destination.
Here are 5 tips for hitching up:
- Check vehicle and caravan weights
- Check all towing electrics
- Check your trailer plug (they’re out in the weather 24/7 so inspect frequently)
- Check tow ball
- After hitching up, do a light and electric brake check
Stay tuned for a future blog with specific steps on how to get hitched (your caravan to your vehicle, that is).
Take it Easy While You Tow
Towing a caravan is the ultimate in freedom and adventure when holidaying. But it’s also a HUGE responsibility. It requires unwavering concentration and attention to what is happening around you at all times. The slightest driver error can result in major problems and endanger you, the occupants in your vehicle, and other motorists.
Some tips for safe, successful caravan towing:
- Store items in your caravan evenly and securely
- Double check the condition of your car and caravan including (but not limited to) couplings, chains, brakes, and tyres – both before and during your trip
- Accelerate, brake, and steer smoothly and gently to avoid swaying – once the caravan starts swaying, it can be quite nerve-racking.
- If you experience some swaying, don’t panic and try to over correct, as this can cause more swaying
- Always use smooth, gentle movements
- Allow for double the distance between you and the car in front so you have time to slow down when braking
- Ease into the brakes and NEVER attempt a hard stop
- Slow down when larger vehicles pass in either direction to avoid swaying caused by wind buffering
- Always be aware of the cars/trucks around you – your blind spot increases when towing a caravan
- Allow for extra time when overtaking (and for the extra size of the caravan!) – you’re a big rig now, so you’re going to need more time and space
- Don’t be pressured by the flow of traffic to go faster than you are comfortable
- Make sure there is no oncoming traffic when overtaking
- Never overtake on a bend or crest – better still, take your time and do not overtake unless absolutely necessary and safe
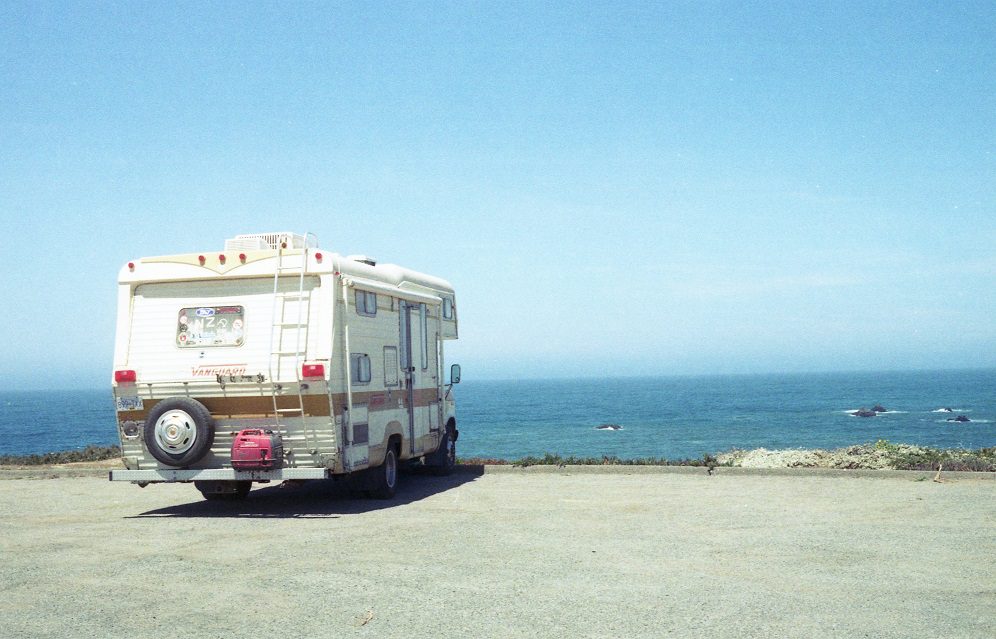
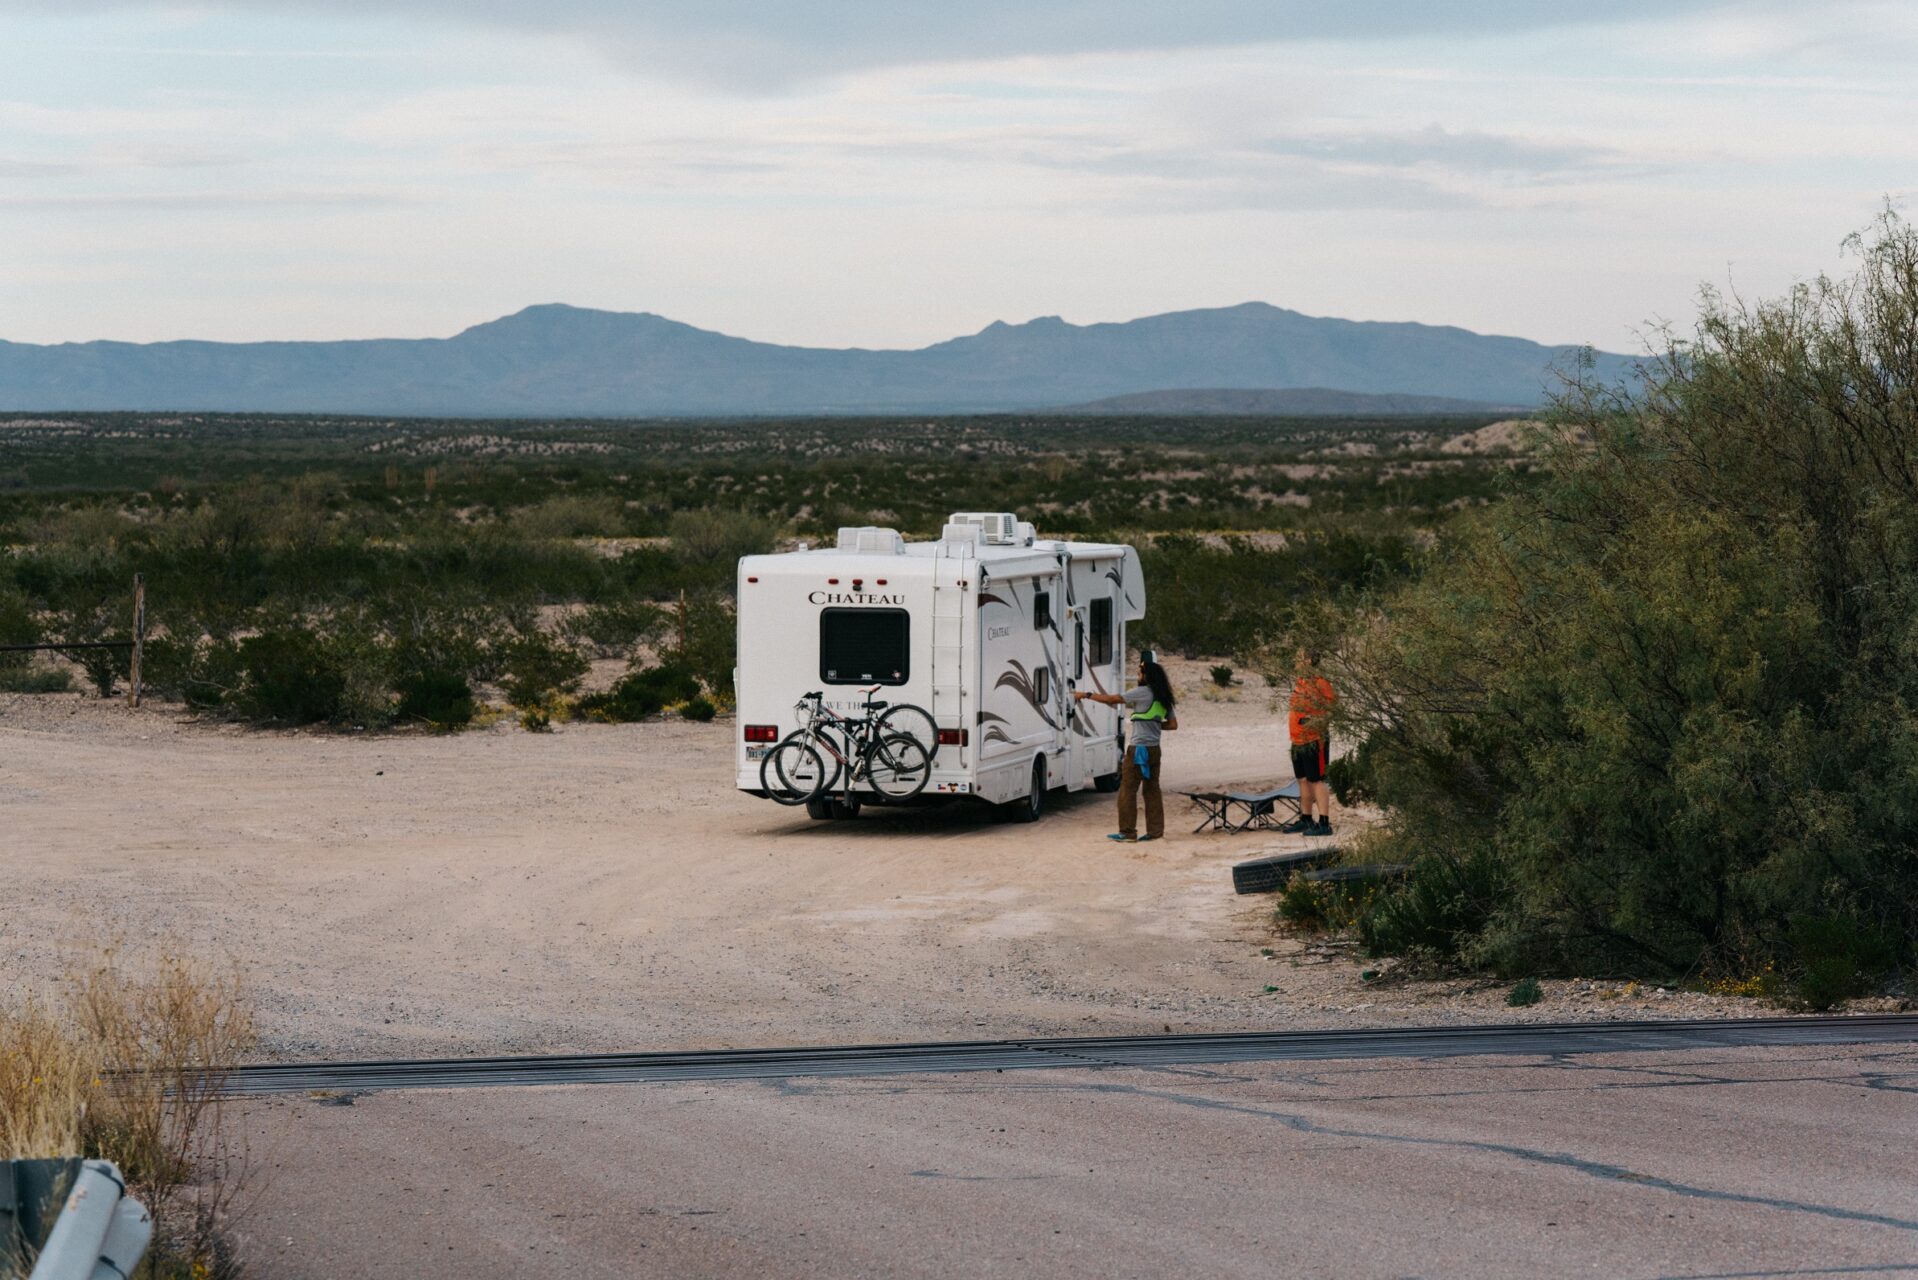
Position, Level, and Uncouple the Caravan
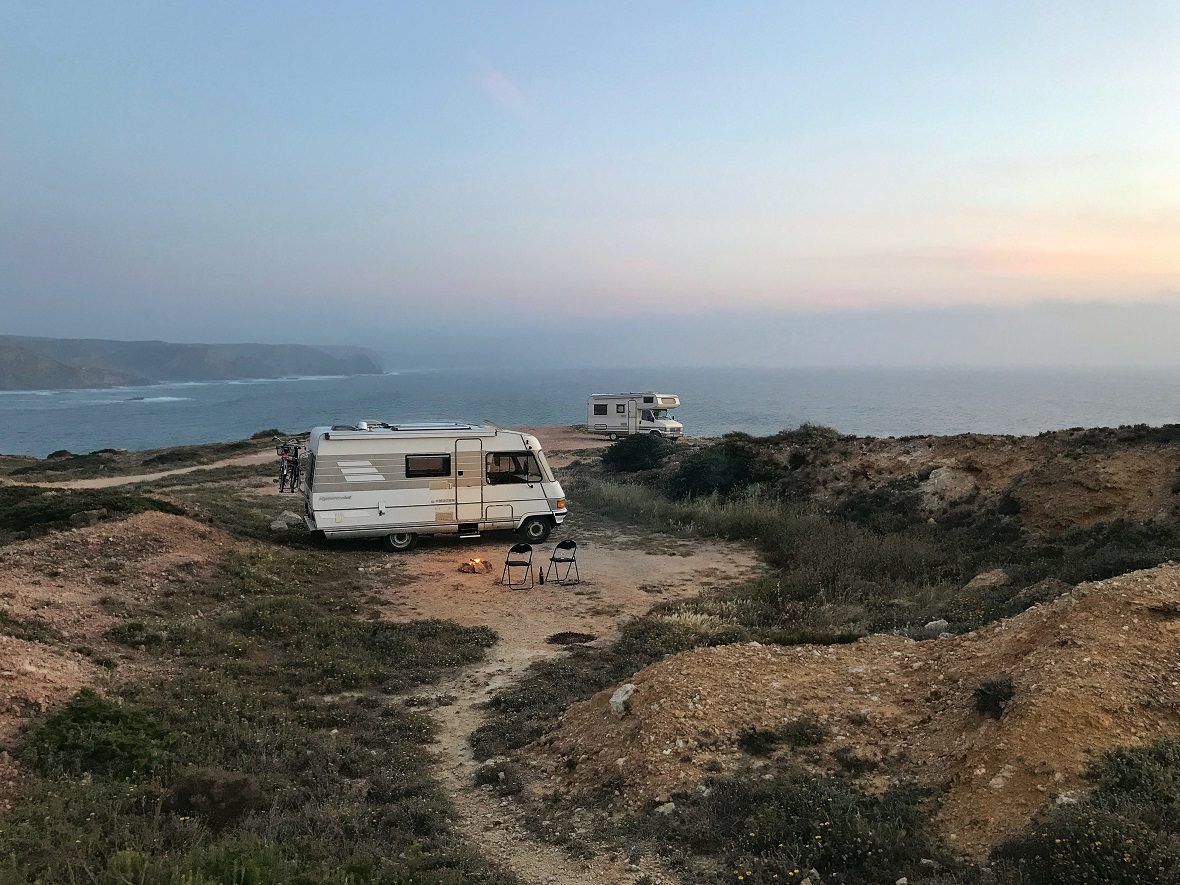
Once you arrive at your destination, it’s a good idea to go for a walk and explore your site. Look out for any obstacles, hazards, vantage points, and uneven surfaces, then you can work with a spotter to plan your next maneuver. This will make parking your caravan much easier so you can get it done in less time, giving you more time to explore.
There are a few different things to consider when setting up your caravan and positioning it.
First of all, the sun. If you are off-grid, you’ll need to determine where the sun is coming from to best position your solar panels so that they get the most sun exposure throughout the day. Try to minimise the amount of sun that hits the fridge side of your caravan so it can operate more efficiently. Keep in mind that any tall obstacles to the east will cast long shadows in the morning, while those in the west, will provide shade in the afternoon.
Secondly, levelling. Before you uncouple the caravan from your vehicle, ensure the caravan is set up on level ground. A level caravan will ensure a comfortable night’s sleep (no one likes a downward bed). It will also help ensure that all water will drain from your showers, sinks, toilets, and tanks efficiently, helping to prolong the life of the van’s structure.
Our fleet of caravans are equipped with a level on the draw bar and levelling ramps in the tunnel boot. These tools should help you level your caravan or camper with ease.
After your caravan is level and uncoupled, it’s time to lower the four corner stabilisers. We’ll share more specifics on how to manoeuvre and uncouple your caravan using specific towing setups in a future blog.
Note: RV stabilisers are not levels and should never be used to level your caravan or camper trailer. Your stabilisers should only just touch the ground, which will help to preserve the life of both the stabilisers and the caravans’ structure.
Prepare Your Caravan or Camper/Hybrid
Now that your caravan is positioned, level, and uncoupled, it’s time to open it up and make it feel like home! The next caravan set up steps for you will depend on the type of caravan or camper/hybrid you’ve hired.
Opus OP4
For this camper, it’s as simple as opening the side bed panels, pulling out the awning from the middle of the trailer, closing all the air valves, then pressing the air inflator. Sit back and relax while you wait for the air to work its magic. Once the camper is fully inflated, the air pump will stop. Then it’s now time to go inside, set up the couch cushions, open the roof windows and any desired side windows, and make the beds.
Pop Top Caravans and Hybrid Campers
If you’ve got a pop top or hybrid camper, you’ll need to unclip the four corner roof clamps, loosen the awning in the open position, then go inside to pop up the roof. After you’ve done this, you can follow the same steps for setting up as a caravan.
Caravans
If you’ve hired a caravan, setting up is as simple as unlocking the door, then allowing some fresh air flow through the caravan. The best way to air it out is to open up the roof hatch in the cabin area and amenities, then open any windows you’d like. If the weather and surroundings are appropriate, open the awning and secure it to the ground. For specific instructions, check out our other blog on how to put up a caravan awning.
Lastly, regardless of whether you’ve hired a caravan or camper/hybrid, it’s a good idea to lay out a ground sheet so you can keep your van clean and tidy from any sand and dirt.
Switch On (and Maintain) the Facilities
The next step to setting up your caravan is to get everything switched on. All of our caravans and camper/hybrids are jam packed with great facilities including:
- Power (battery with solar or 240v)
- Gas
- Hot water
- Toilet/shower
- Aircon (on-grid only)
- Kitchen
Power
First thing’s first: let’s switch on the power! Here’s what you need to know:
- Our caravans and campers are fitted with 200-300 amps of power
- If your adventure is on-grid, simply plug into the mains with an extension 15 amp cord (this will also use the 240v charger to recharge the batteries onboard)
- If your adventure is off-grid, simply turn on the power switches
- Note that weather and positioning will determine the rate of charge your solar-powered batteries will receive – if it’s an overcast day or you’re parked under a shady tree, the solar panels will receive less input
- Remember: for every 1 amp used, the solar must generate 1 amp in return so that you have enough power for the duration of your trip
Gas and Water
While you’re at it, switch your gas and water on. Most caravans are equipped with a gas hot water system and a holding tank. Ensure you remove any dust covers, turn the gas on, and switch on the inverter if it requires ignition.
Our caravans already have water pumps plumbed in. If you’re off-grid, setting this up is as simple as flicking the pump on via the designated switch. If you’re connected to the grid, you can hook up to a safe drinking water hose between the tap and caravan or camper. The natural flow from the tap will provide enough pressure. If you’re hiring an OP4 or Scout 15, you’ll need to connect a blue air hose between the camper and kitchen in the designated location for running water.
Fridge
Now it’s time to check that your fridge is on. You’ll likely have a compact stand up fridge that runs on either gas, electricity, or 12v. Most modern fridges will automatically pick a preferred power source (first 240v, then gas), but if you’re in an older van (such as the Coromal pop top), you’ll need to manually change the fridge to 240v or gas.
Or you may have a fridge that looks a bit like an esky and runs 100% off a 12v battery. You’ll find this works best in medium mode (-4) if you’re off-grid, and in high mode (-4) if you’re on-grid and connected to 240v.
Toilet
Time to get your throne (err… toilet) ready! Read through these tips carefully in case you (or more likely, your small children) are in a bit of a hurry to set this up once you get to your destination.
Here’s what you should know:
- Waste storage – Most campervan/caravan chemical toilets share the same characteristics, with the waste stored directly below the seat
- Contamination – Because the waste is stored within the unit, you’ll need to be careful to avoid anyone being contaminated or exposed to harmful bacteria
- Chemicals – Using chemicals is important because they react with the waste matter, break down the harmful bacteria, and minimise smells
- Preparing the chemicals – Flush a couple of cycles with fresh water, then place 50ml of chemical solution in the waste compartment (never place chemical in waste compartment without adding water first)
- Lubricate – It’s a good idea to lubricate the chemical toilet bowl with another toilet chemical solution (even your standard domestic toilet bowl cleaner) to keep the porcelain bowl free from harmful bacteria and smells
- Ready to empty – When they’re ready to empty, most toilets will illuminate a yellow/red light or display a full indicator
- Emptying – Ensure the toilet waste slide is closed, then carefully remove the cassette from the van or toilet bowl and dispose appropriately
- Disposal – Ask your local camp operator for local dump point locations (don’t just tip it down the campsite toilet as they may have a special septic tank system and your portaloo will damage their setup)
- Cleaning – Before replacing, wash out the cassette with fresh water and use approved toilet chemical wash to clean out the last remaining nasties
- Paper – Recycled 2-ply paper is best for a chemical toilet setup, as these toilets will not like nappy wipes or disposable toilet paper
Grey Water
All the caravans and campers/hybrids in our fleet come with a grey water waste tank or 20L jerry can. You’ll need to regularly check and empty your grey water waste and be careful that you don’t overfill this, as the grey tanks have significantly less capacity than your onboard water capacity.
Disposing of your grey water correctly is crucial to help preserve this beautiful country – and prevent you, your family members, and campers around you from getting sick. Plus, nobody wants to spend $$$ on state infringements.
Ask your local camp or information centre operator for dump points nearby. If this information isn’t available, check out Google or online sources like WikiCamps.
Learn More About Setting up Your Caravan
There’s only so much we can cover – even in an extensive caravan set up guide like this one! We’ve included tips that are universal to most modern brands of caravans and campers/hybrids (like the ones we hire out), but it should be easy enough to adjust to suit your specific caravan setup.
If you want to learn more about setting up your caravan, nothing beats in-person guidance from someone who is an expert at camping and your particular caravan.
Fortunately, when you book one of our caravans and camper/hybrids, we spend up to an hour (sometimes more) at handover, showing you the ropes. Plus, we send through a range of videos, caravanning checklists, and guides ahead of your booking so you can feel confident with setting up, packing up, and everything in between.
And we don’t expect you to remember everything. So we’re only a phone call away if you need help while you’re on your adventure.
Find Caravans for Hire in North Brisbane
Planning to go on an adventure soon? Looking for a caravan to hire that’s not only comfortable and modern, but comes with all the beginner-friendly inclusions, support, and advice you’ll need?
Check out our range of caravans and campers/hybrids for hire! Just off the Bruce Highway at Murrumba Downs, we’re conveniently located near some of Australia’s best on-grid and off-grid camping destinations.
We look forward to helping you get set for your next family trip!